Call This
Monday
to Get
$35 OFF


Call This
Monday
to Get
$35 OFF
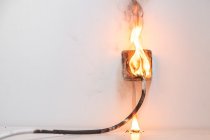
The circuit breaker is an automatic panel designed to protect an electrical circuit from overload or short circuit. When the circuit is defective due to overcurrent or overloads, the breaker trips and disconnects all electricity to keep your systems safe and avoid possible fire outbreak.
But when the breaker frequently trips or isnt working properly, you need to spring into action to find out the problem. Recommended types of equipment to be used in diagnosing faults in the circuit breaker are the Voltmeter (for measuring voltage), Ohmmeter, or Ammeter for measuring current.
We will concentrate on how to test a circuit breaker with a Multimeter because it is the best instrument used to check voltage fluctuations in electrical circuits. Read on to get acquainted with the process.
Tools Needed
Step 1
Safety First
Safety should be the no.1 priority whenever you are dealing with electrical installations, components, and wiring.
Therefore, the first thing to do is to ensure that the area around the electrical panel is dry. And ensure youre putting on a pair of rubber-soled shoes. Also, check if there is any standing water on the ground, and mop it up.
Step 2
Open the Circuit Breaker Box
Carefully open the circuit breaker box and identify the breaker that should be tested. Normally, breakers are labeled according to the area they are powering. This will help you identify the particular one to test.
Step 3
Turn Off Lights and Appliances
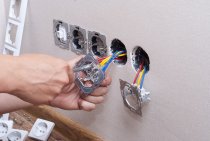
Make sure that all the lights and appliances powered through the breaker is turned off. Then get a screwdriver and remove the metal frame. This will expose the wires and other components of the breaker.
Step 5
Work with Correct Settings
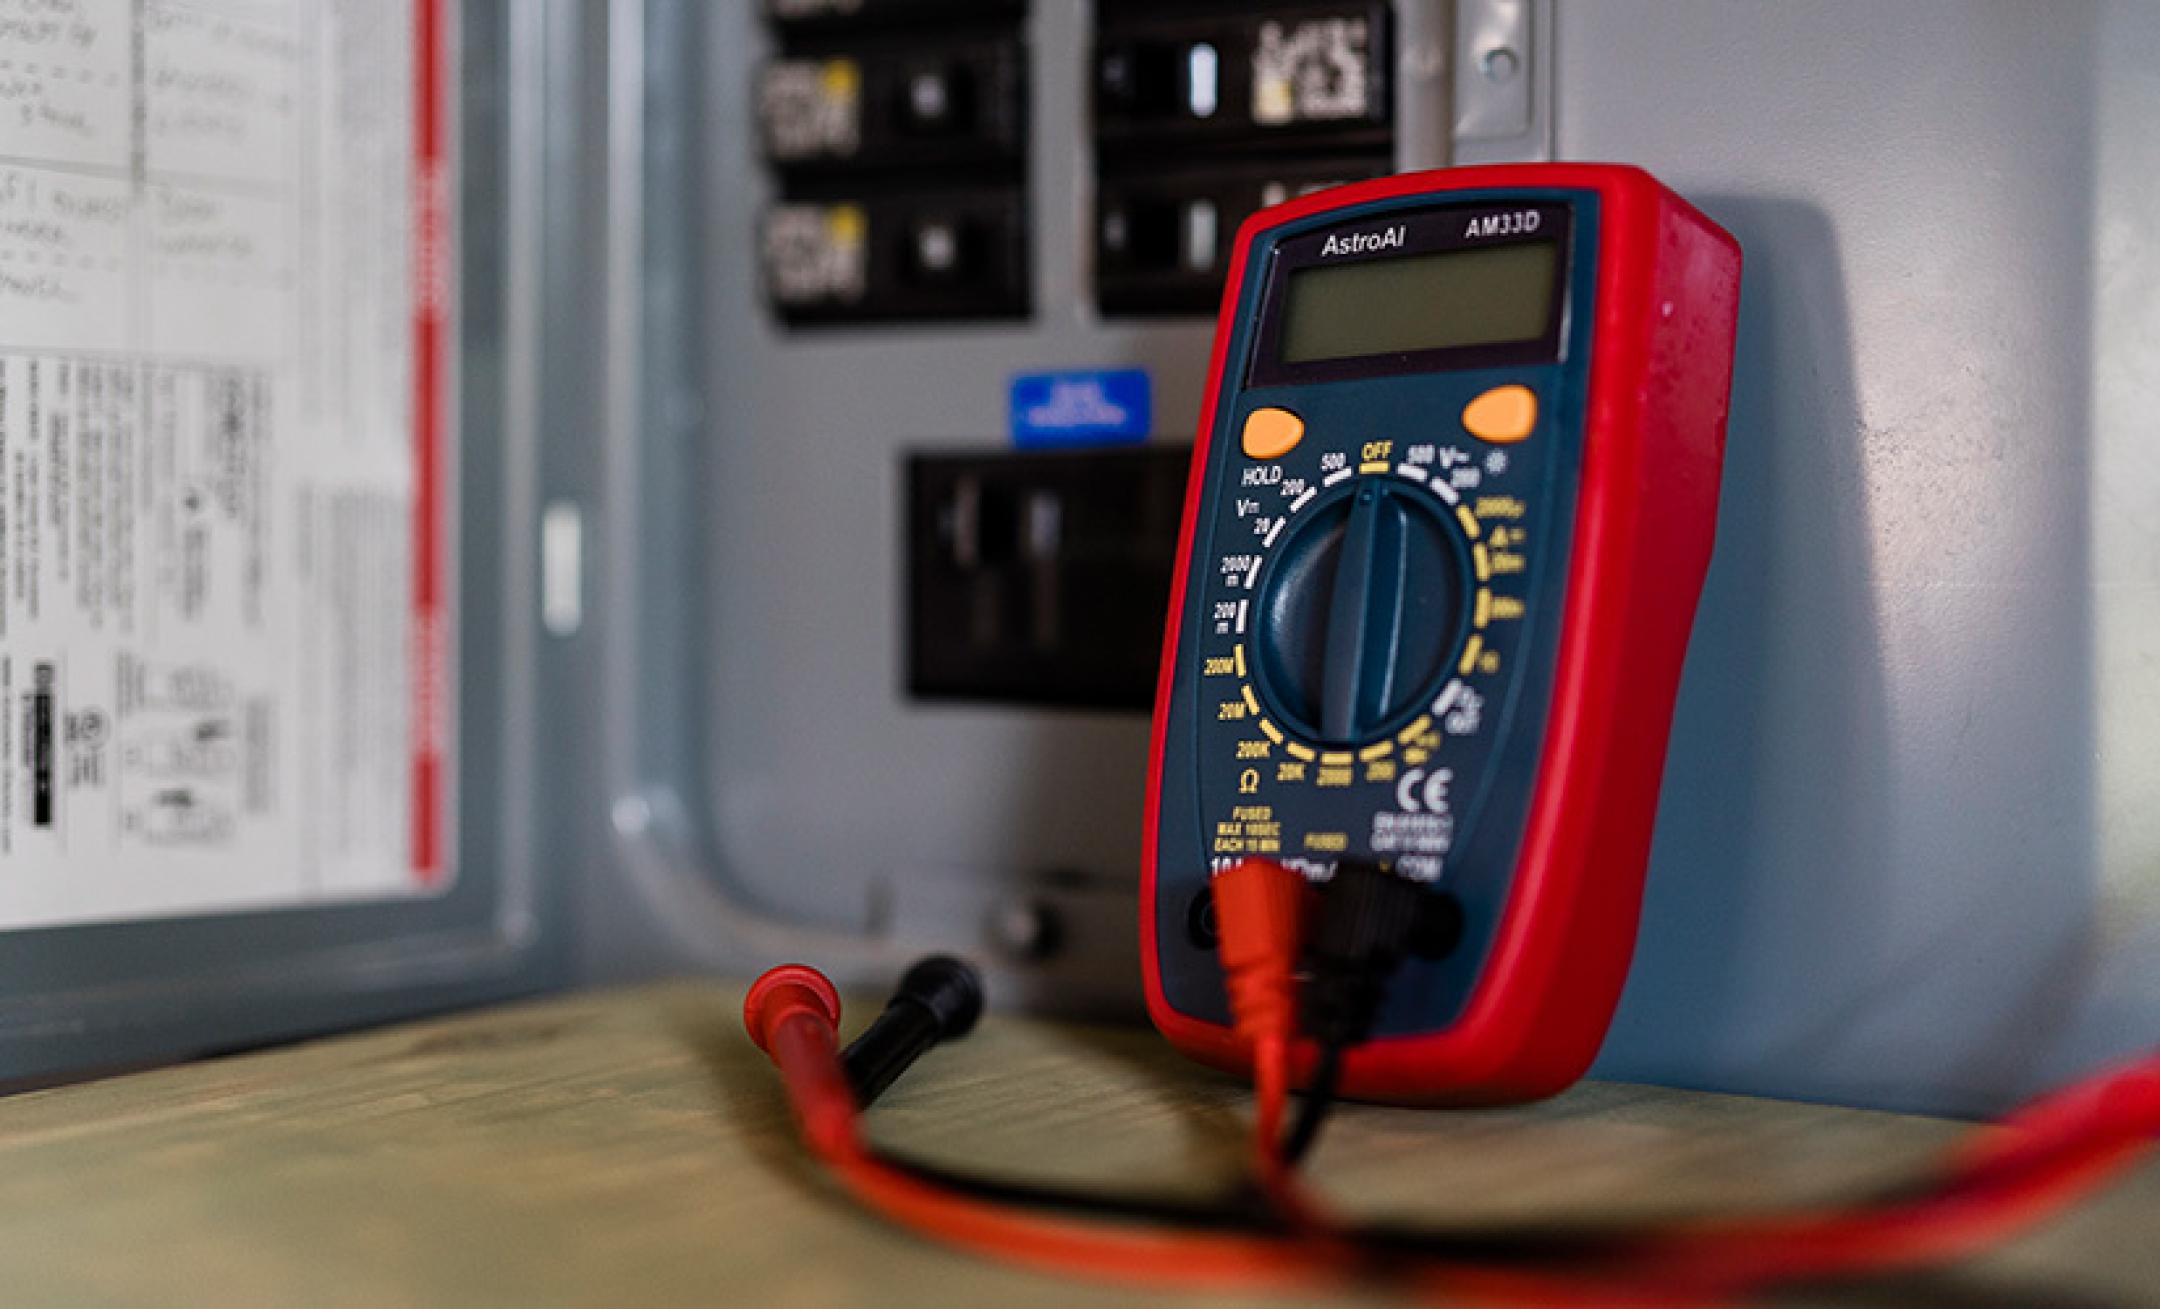
Get the multimeter ready by setting it to "Volts AC." (abbreviated by some manufacturers as ACV). Note that it is critical to use this setting because the wiring in most homes uses alternating current.
Step 6
Test the Breaker
Touch one prong of the multimeter to the breakers terminal screw, then the other to a ground screw. You can locate the ground screw in a metal bar along the right-hand side of the electrical panel. The reading should be 120 or 240 volts. If the reading is lesser or doesn't indicate any movement, then the breaker is faulty.
A faulty circuit breaker increases the risk of an electrical overload, short-circuiting, damage to appliances, and fire outbreak. If you find out that the breaker is faulty, you do not have to procrastinate. Call the experts at Neighborhood Electric for a quick diagnosis of the issues.
At Neighborhood Electric, we have certified and experienced electricians that have handled both simple and complex commercial breakers. We will arrive at your location to fix the problem within the shortest time possible. The good news is that our services come at a very affordable price.
So no need to delay while the solution is just a call away we are readily available to serve you.